
This post contains affiliate links. That means that if you click through and make purchases through those links, I can earn a commission. For more information, feel free to see our full disclosure.
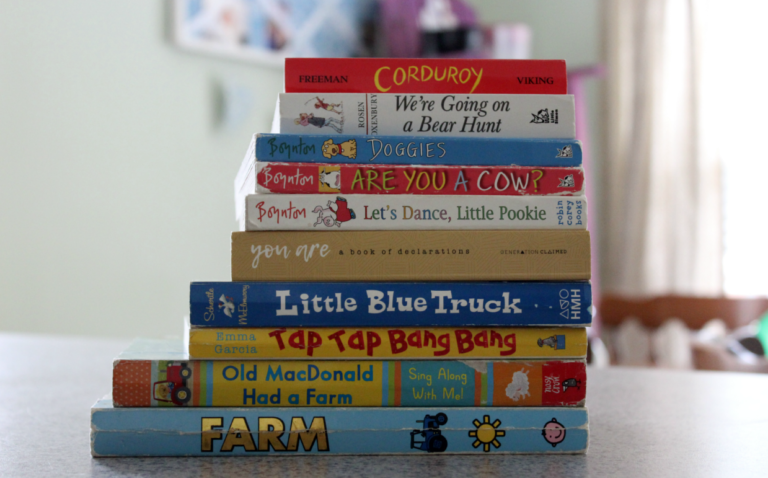
We love to read around here. I try to be mindful of reading aloud to both boys each day. It’s something fun that we do together and it’s something that I want to encourage all of our kids in as they get older.
As a parent, I want to encourage them to read for learning sake – to find new information and facts. But even more, I want to raise readers who simply enjoy reading for reading sake.
We want to make reading fun for our kids.
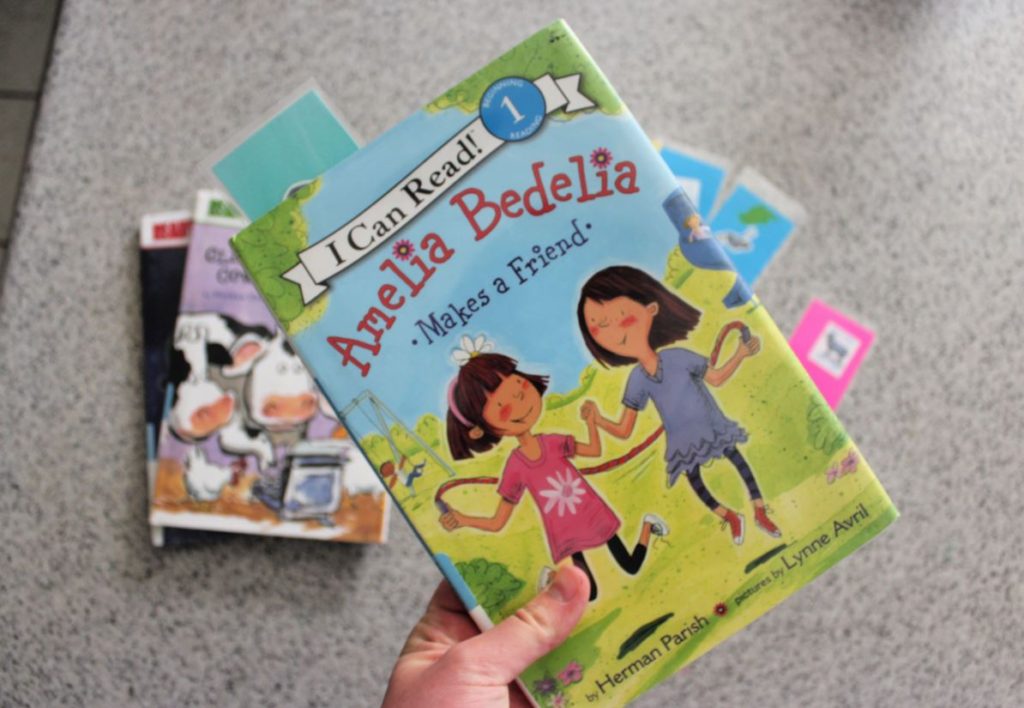
Since my oldest has started reading chapter books and working his way through his own activity books, he often needs to mark his spot and keep up with where he is in his reading.
After being asked a lot of times for a page marker, or having to carefully move books that were left open to a specific page, we decided to make our own DIY bookmarks.
RELATED: HOW TO GROW YOUR CHILD’S LIBRARY ON A BUDGET
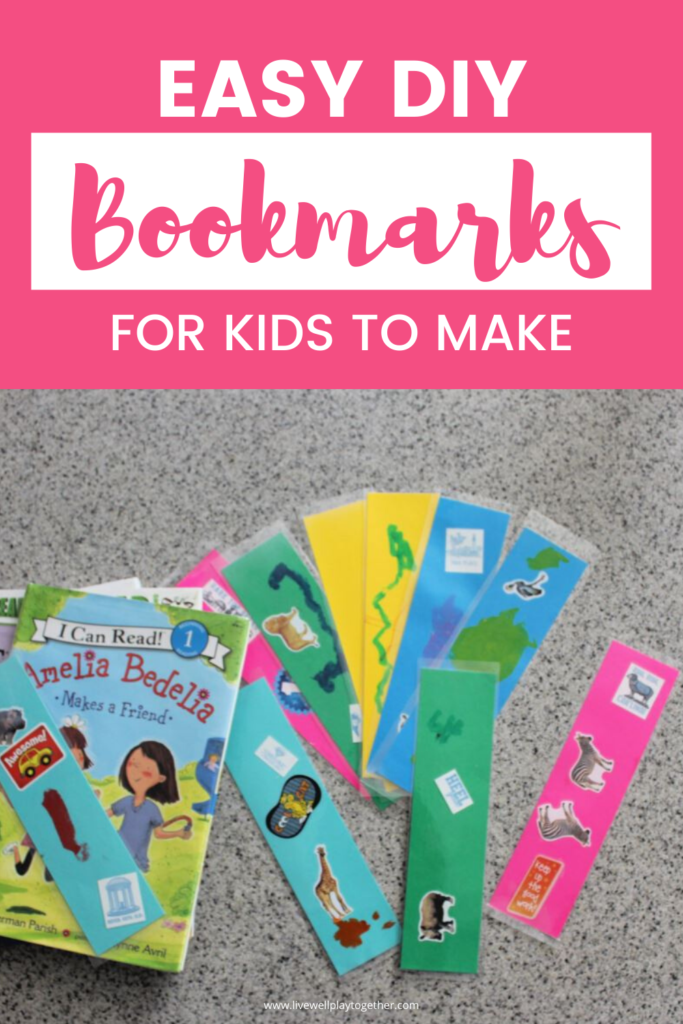
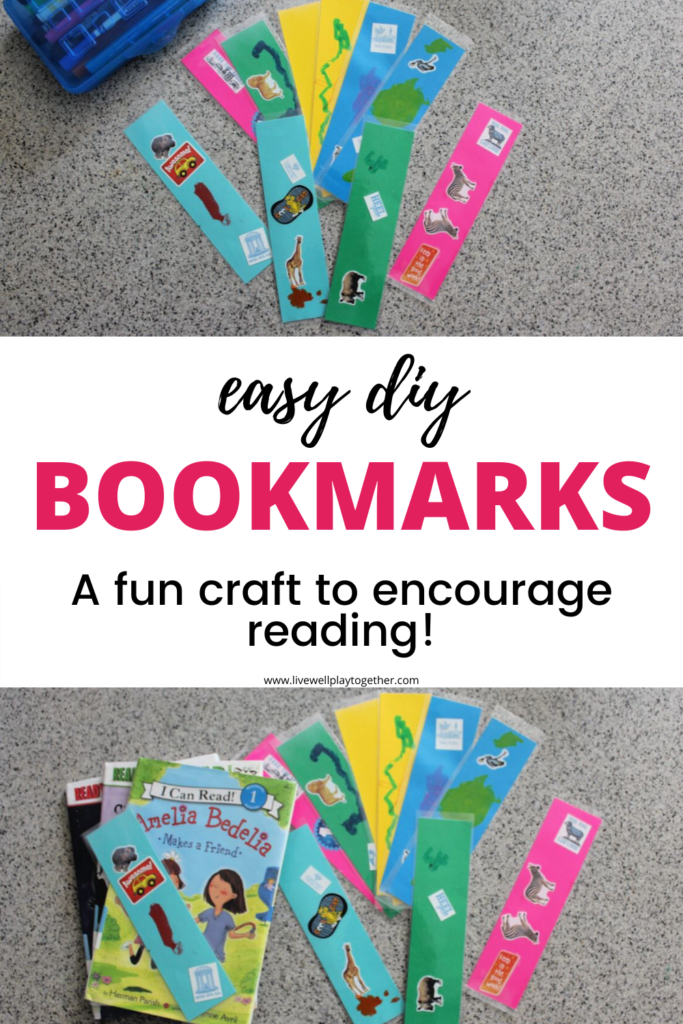
Make Your Own DIY Bookmarks
Honestly, these bookmarks are so simple to make, it feels almost silly to write a full tutorial on it, but more times than not, simple is best. So here I am, giving you a simple idea that you will hopefully be able to use in your home or classroom to encourage creativity, a love of reading, and allow kids to take some ownership of their reading as they create their own bookmarks.
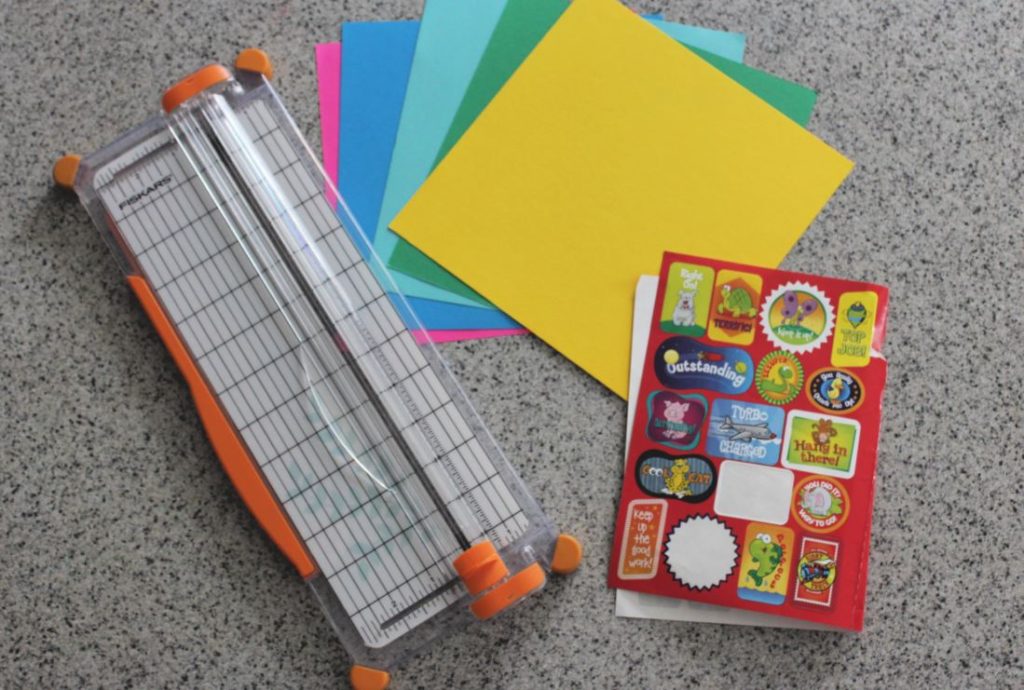
Supplies
This post contains affiliate links. That is to say that if you click through and make purchases through those links, I can earn a commission. Feel free to see disclosure for more information.
- Colorful card stock paper
- You can also use construction paper, especially if you plan to laminate the bookmarks.
- Stickers
- Markers
- Paint Sticks
- Basically, easy decorating supplies that you have on hand.
- Paper cutter
- This is the one that we have had forever and it’s perfect for projects like this.
- Laminator, optional
Directions
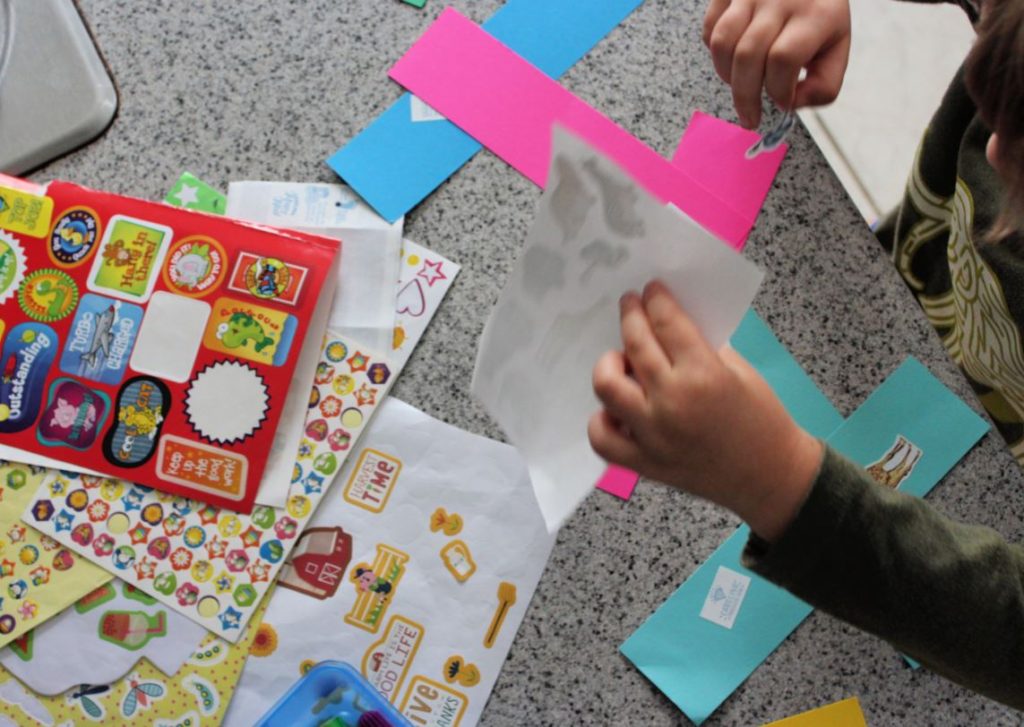
- Using your paper cutter, cut card stock paper into strips of desired width. We cut ours into strips about 1.5 inches wide.
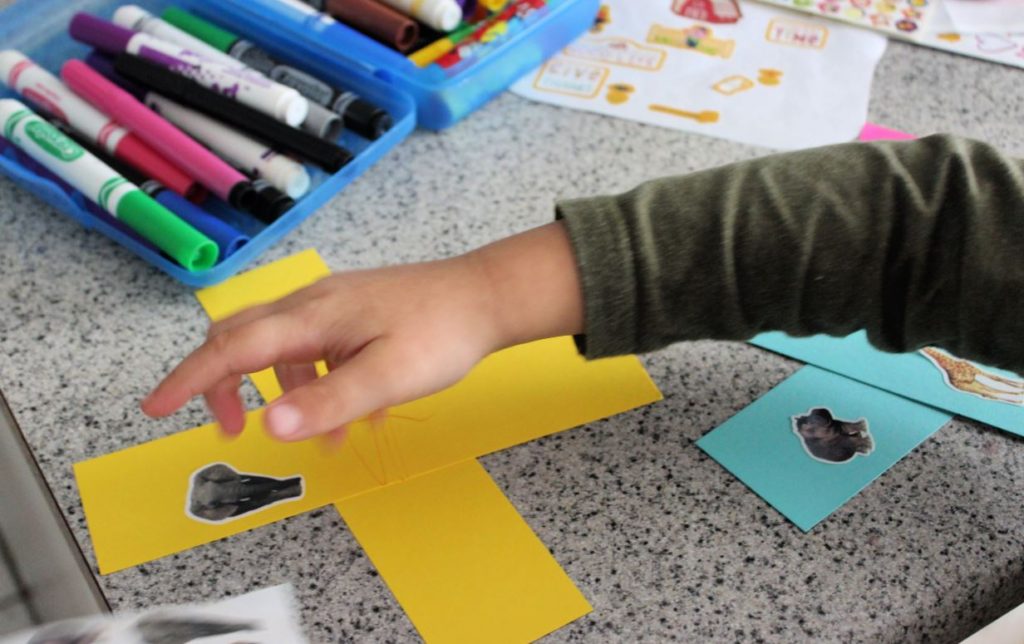
- Allow kids to choose their color of bookmarks and decorate how they wish.
- There really is no right or wrong way to decorate the bookmarks. We ended up using a mix of paint sticks, markers, and stickers from our craft cabinet.
- Once children are finished decorating their bookmarks, you may choose to laminate them. This will preserve them as children use them again and again.
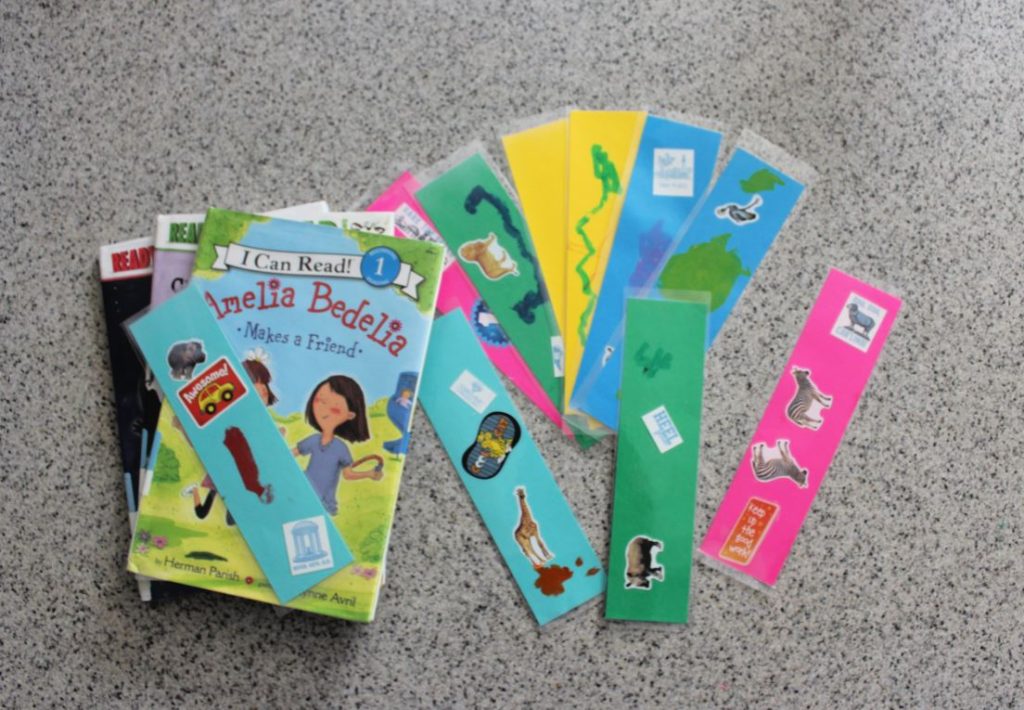
We ended up making several of these DIY bookmarks and keep them in a little stack on our family bookshelf so they are easily accessible.
These bookmarks have been a simple, but fun addition to our reading time as our boys are so proud to go get a bookmark that they made when we need to keep our place in a book that we’re reading.
What Do You Think?
Do your kids enjoy reading? What are your favorite ways to encourage a love of reading in your children?

Welcome to the Wednesday Link Party! Meet your hosts:
Jaclyn from Coffee, Pancakes, and Dreams
Brittany from Dreams and Coffee
Mary Leigh from Live Well Play Together
Tiffany from Lake Life State of Mind
Lindsay from Lindsay’s Sweet World
Keri from Cultivate an Intentional Life


This is so fun! My oldest daughter would love doing this!
It really is! Be sure to let me know if you all make them!
Not silly at all to put a tutorial like this on the blog! I love it and couldn’t agree more that it’s the simple things that work the best. Happy Reading!