This post contains affiliate links. That means that if you click through and make purchases through those links, I can earn a commission. For more information, feel free to see our full disclosure.
Have you ever tried to make DIY gift wrap? Or are you like me and have a nice little collection of left over gift bags from holidays and birthdays long ago?
This DIY project was inspired by a rainy day, an excess of paper bags, and a birthday party coming up for a sweet friend.
Thankfully, it turned out way better than I expected! Not only that, but it is a fun, easy craft project for kids to do.
Why DIY Wrapping Paper?
First, couldn’t we have just put the birthday gifts in a bag and called it a day?
Short answer: yes.
But this was WAY more fun. Also, I think it is so special when they boys spend their time to really think of the person they are giving gifts to and create something unique especially for them.
Not only did the boys get to get creative designing the wrapping paper, they also got to take more ownership of the gifts that they were giving to their friend.
I asked each of them to think of something that they thought would be special and to take their time to do their best.
They loved it.
Best part? It’s perfect for any gift giving occasion!
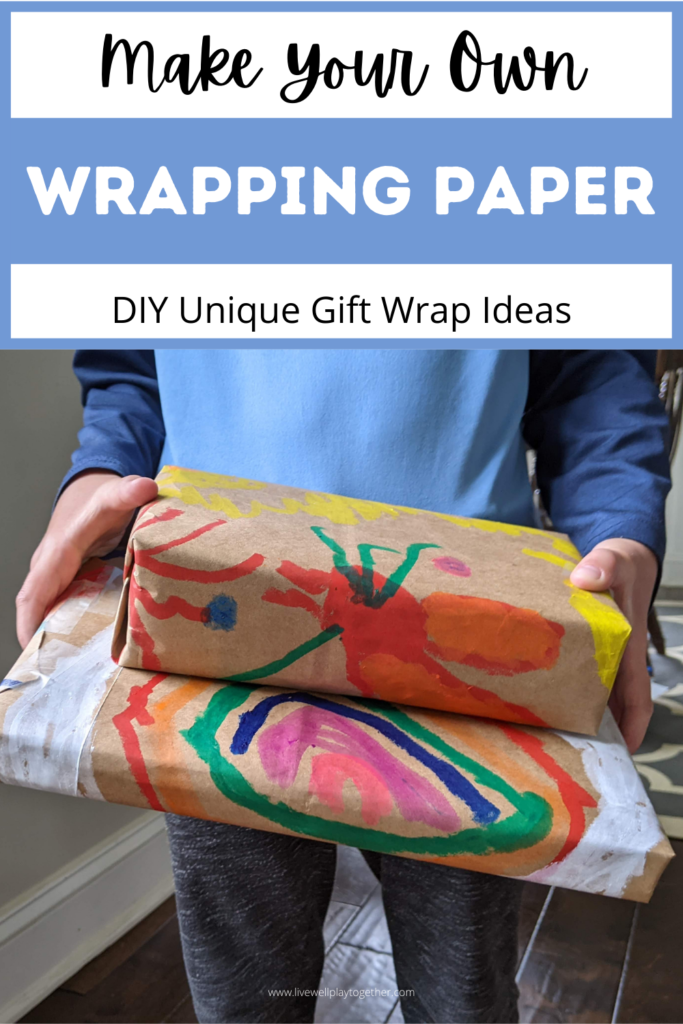
How to Make Your Own Gift Wrap
To make your own wrapping paper, you just need:
- Paper bags (butcher block paper will work also)
- Paint sticks, markers, crayons, paint, anything to color with
- We used our favorite Kwik Stix Tempera Paint Sticks for this project because they are so simple and they dry in about 90 seconds. HIGHLY recommend for this and many other projects!
- Scissors
- Tape
Directions
Once you have all of your supplies, you’re ready to start creating!
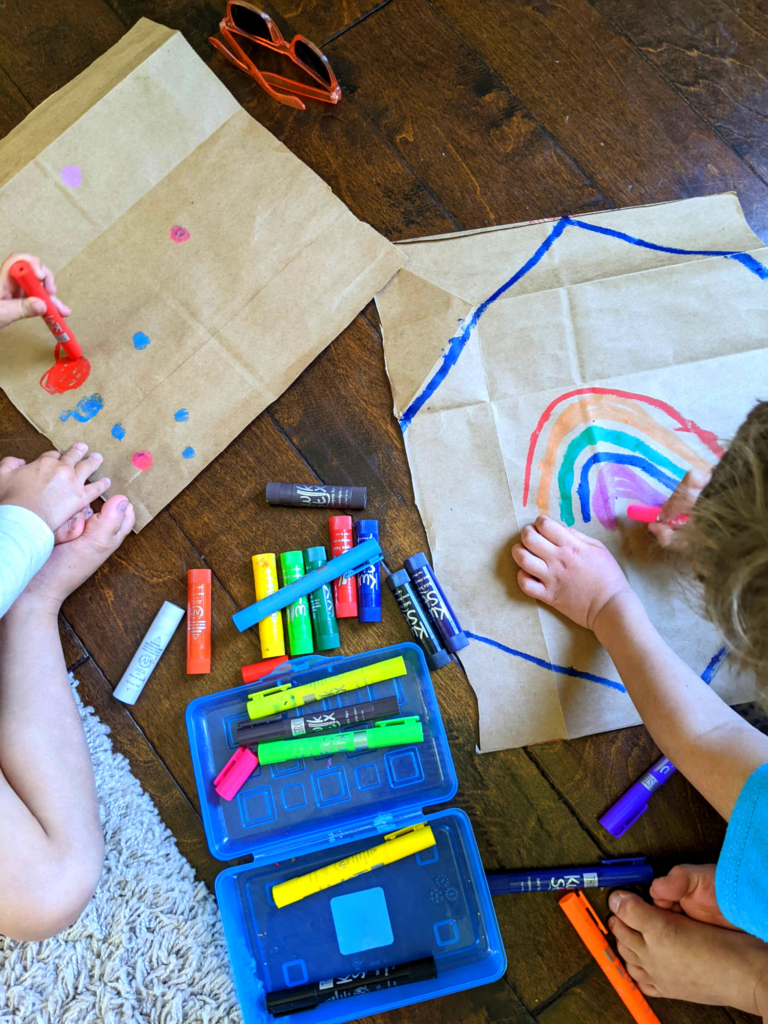
- Using scissors, cut the paper bag so that it lays flat.
- The easiest way to do this is to remove the handles first, then cut along the fold on one side of the bag, then cut the bottom of the bag out.
- Free create! Create your own designs on the paper bag. If you use paint or paint sticks, make sure that the drawings are completely dry.
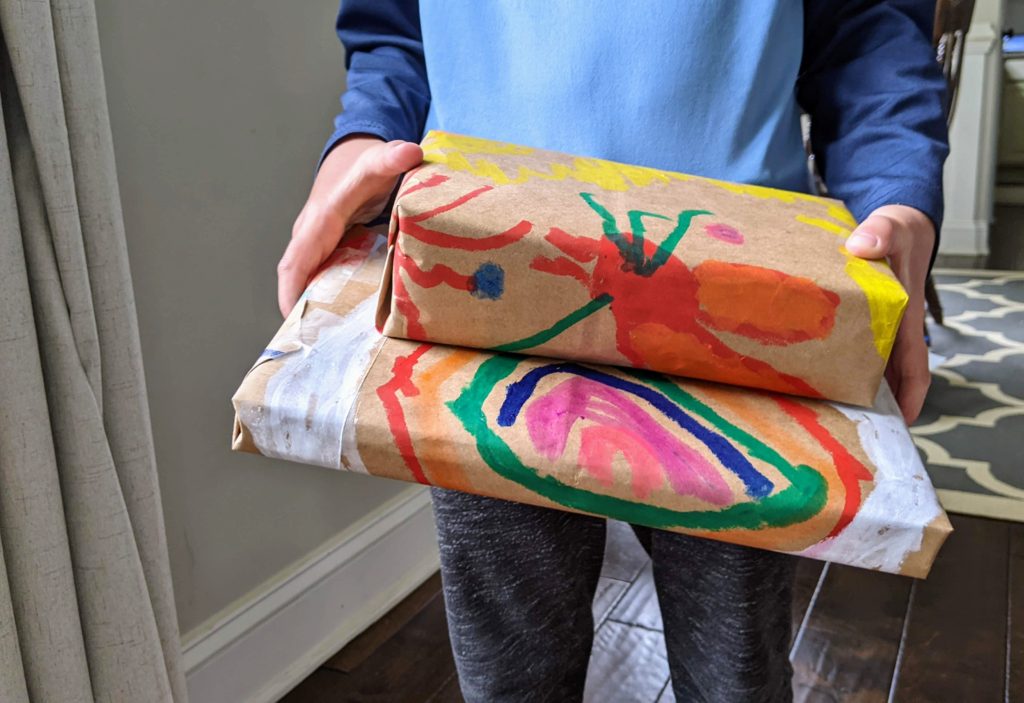
- Wrap your gift and deliver it in style!
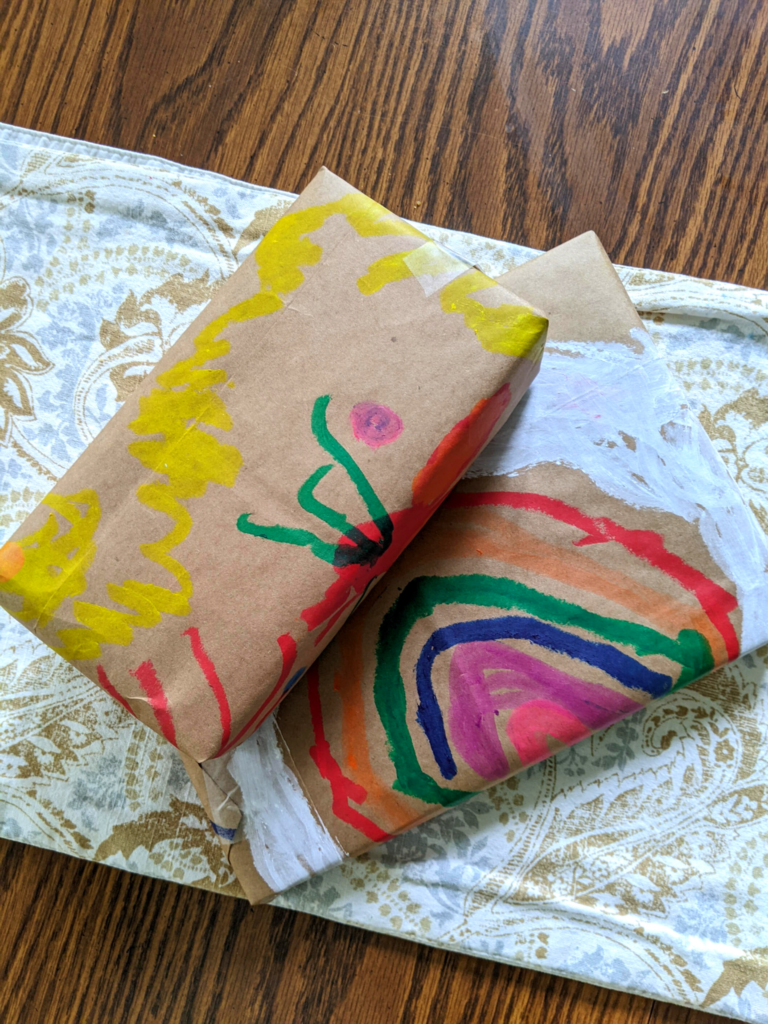
And that’s it!
We are already thinking of more fun wrapping paper designs to make in the future!
Have you ever made your own wrapping paper? Let me know in the comments!